When designing a home wall, a lot of thought goes into handles, angles, and grids – the Fall protection This is often overlooked. However, DAV accident statistics show that falls onto the mat are the most frequent cause of accidents while bouldering. This guide shows what to consider when... Fall protection for the climbing wall Arriving at home: mat setup, surface area and typical mistakes.
- Two layers: Bergzeit recommends two layers of mats for the wall at home.
- Construction: A firmer layer on top, softer, cushioning foam underneath.
- Area: As a guideline, at least 2 m in front of the wall (walls up to 3 m).
- Seamless: Lay the mats flush and secure them against slipping.
- Limit the fall height: In schools, the free fall height should not exceed 3 m.
How bouldering mats are constructed
According to Bergzeit, crash pads usually consist of two to three layersThe top layer is a relatively hard, closed-cell foam, while the bottom layer is a soft, cushioning layer. The hard layer distributes the impact, while the soft layer absorbs it.
| Mat type | Damping according to Bergzeit | Landing area |
|---|---|---|
| All-round crash pad | approximately 8–11 cm | approximately 1 m² |
| Highball pad | at least 11 cm, three-layered | approximately 1.5 m² |
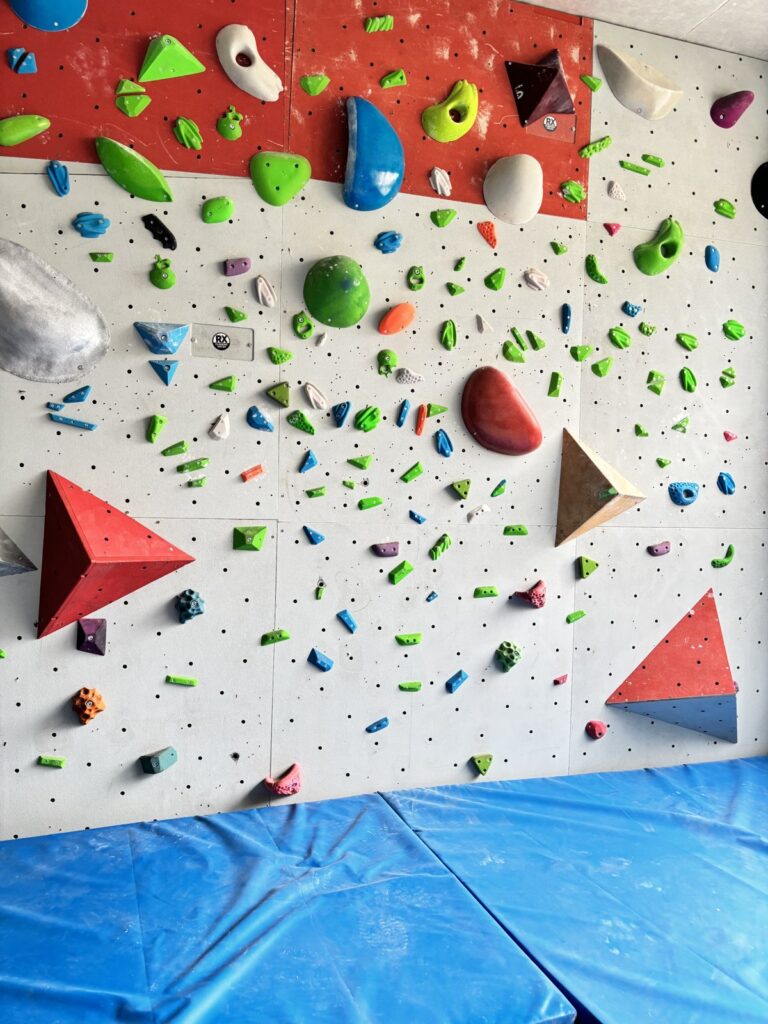
For the home wall, the Bergzeit magazine recommends covering the area with two layers of mats to lay out the mats and to use the largest possible mats in the main impact zone.
How large should the area be?
There are no binding regulations for private walls. The values in DGUV Information 202-018 for schools provide a good guideline:
| Wall height | Impact area in front of the wall (DGUV, schools) |
|---|---|
| up to 3.0 m | at least 2.0 m |
| over 3.0 m | at least 2.5 m |
The DGUV also requires a continuous, closed surface: mats must lie flush and be secured against slipping. The free fall height should not exceed 3.0 m in schools.

On an overhanging home wall, you don't land directly under the hold, but further forward. Therefore, pull the mat generously forward – especially under the exit and the steepest section.
Typical mistakes
One foot in the gap is enough to cause an ankle sprain – lay mats flush.
There is often a lack of space, especially in front.
Furniture, boxes or handles have no place on the landing area.
According to Bergzeit, crash pads last about 3 to 5 years.
Checklist
- Set drop height: Consciously limit the highest row of steps.
- Measure area: Wall width plus space in front and to the side.
- Two layers: Choose mats so that the entire area is completely covered.
- Secure: Secure the mats to prevent them from slipping.
- Check regularly: Replace worn-out areas.
You plan the matching wall with Build a climbing wall at home and Build a spray wall. Why downclimbing is so important is explained in Avoiding injuries while bouldering.
Planning a home wall?
RX Climbing Holds plans and builds bouldering walls for home use – with holds from its own production and a focus on fall protection.
Frequently Asked Questions
How thick should a mat be under the home wall?
There is no fixed standard for private climbing walls. Bergzeit recommends lining your home climbing wall with two layers of mats. According to Bergzeit, all-round crash pads have a cushioning thickness of approximately 8 to 11 cm.
How far in front of the wall should the mat extend?
The values for schools from DGUV Information 202-018 serve as a guideline: For walls up to 3.0 m high, at least 2.0 m in front of the wall, for higher walls at least 2.5 m.
Is one crash pad enough for the home wall?
According to Bergzeit, a single crash pad covers approximately 1 to 1.5 m². A home wall usually requires a continuous surface without gaps – several mats or one large soft landing mat.
How long do bouldering mats last?
Bergzeit states that crash pads have a lifespan of approximately 3 to 5 years. Worn-out areas should be replaced promptly.
About the author: Raul Ortiz has been climbing since 2006, develops and casts climbing holds and fibreglass volumes with RX Climbing Holds in Miesbach, and regularly sets boulder and rope routes in climbing gyms in Upper Bavaria. More about us
 English
 German