A good bouldering or climbing route doesn't happen by chance: behind every fluid movement lies a conscious decision about hold selection, spacing, and difficulty. Anyone starting to set their own routes—whether for their home wall or the local climbing gym—will benefit from a few fundamental principles. This article will show you the basics to get started with route setting.
What does "setting routes" actually mean?
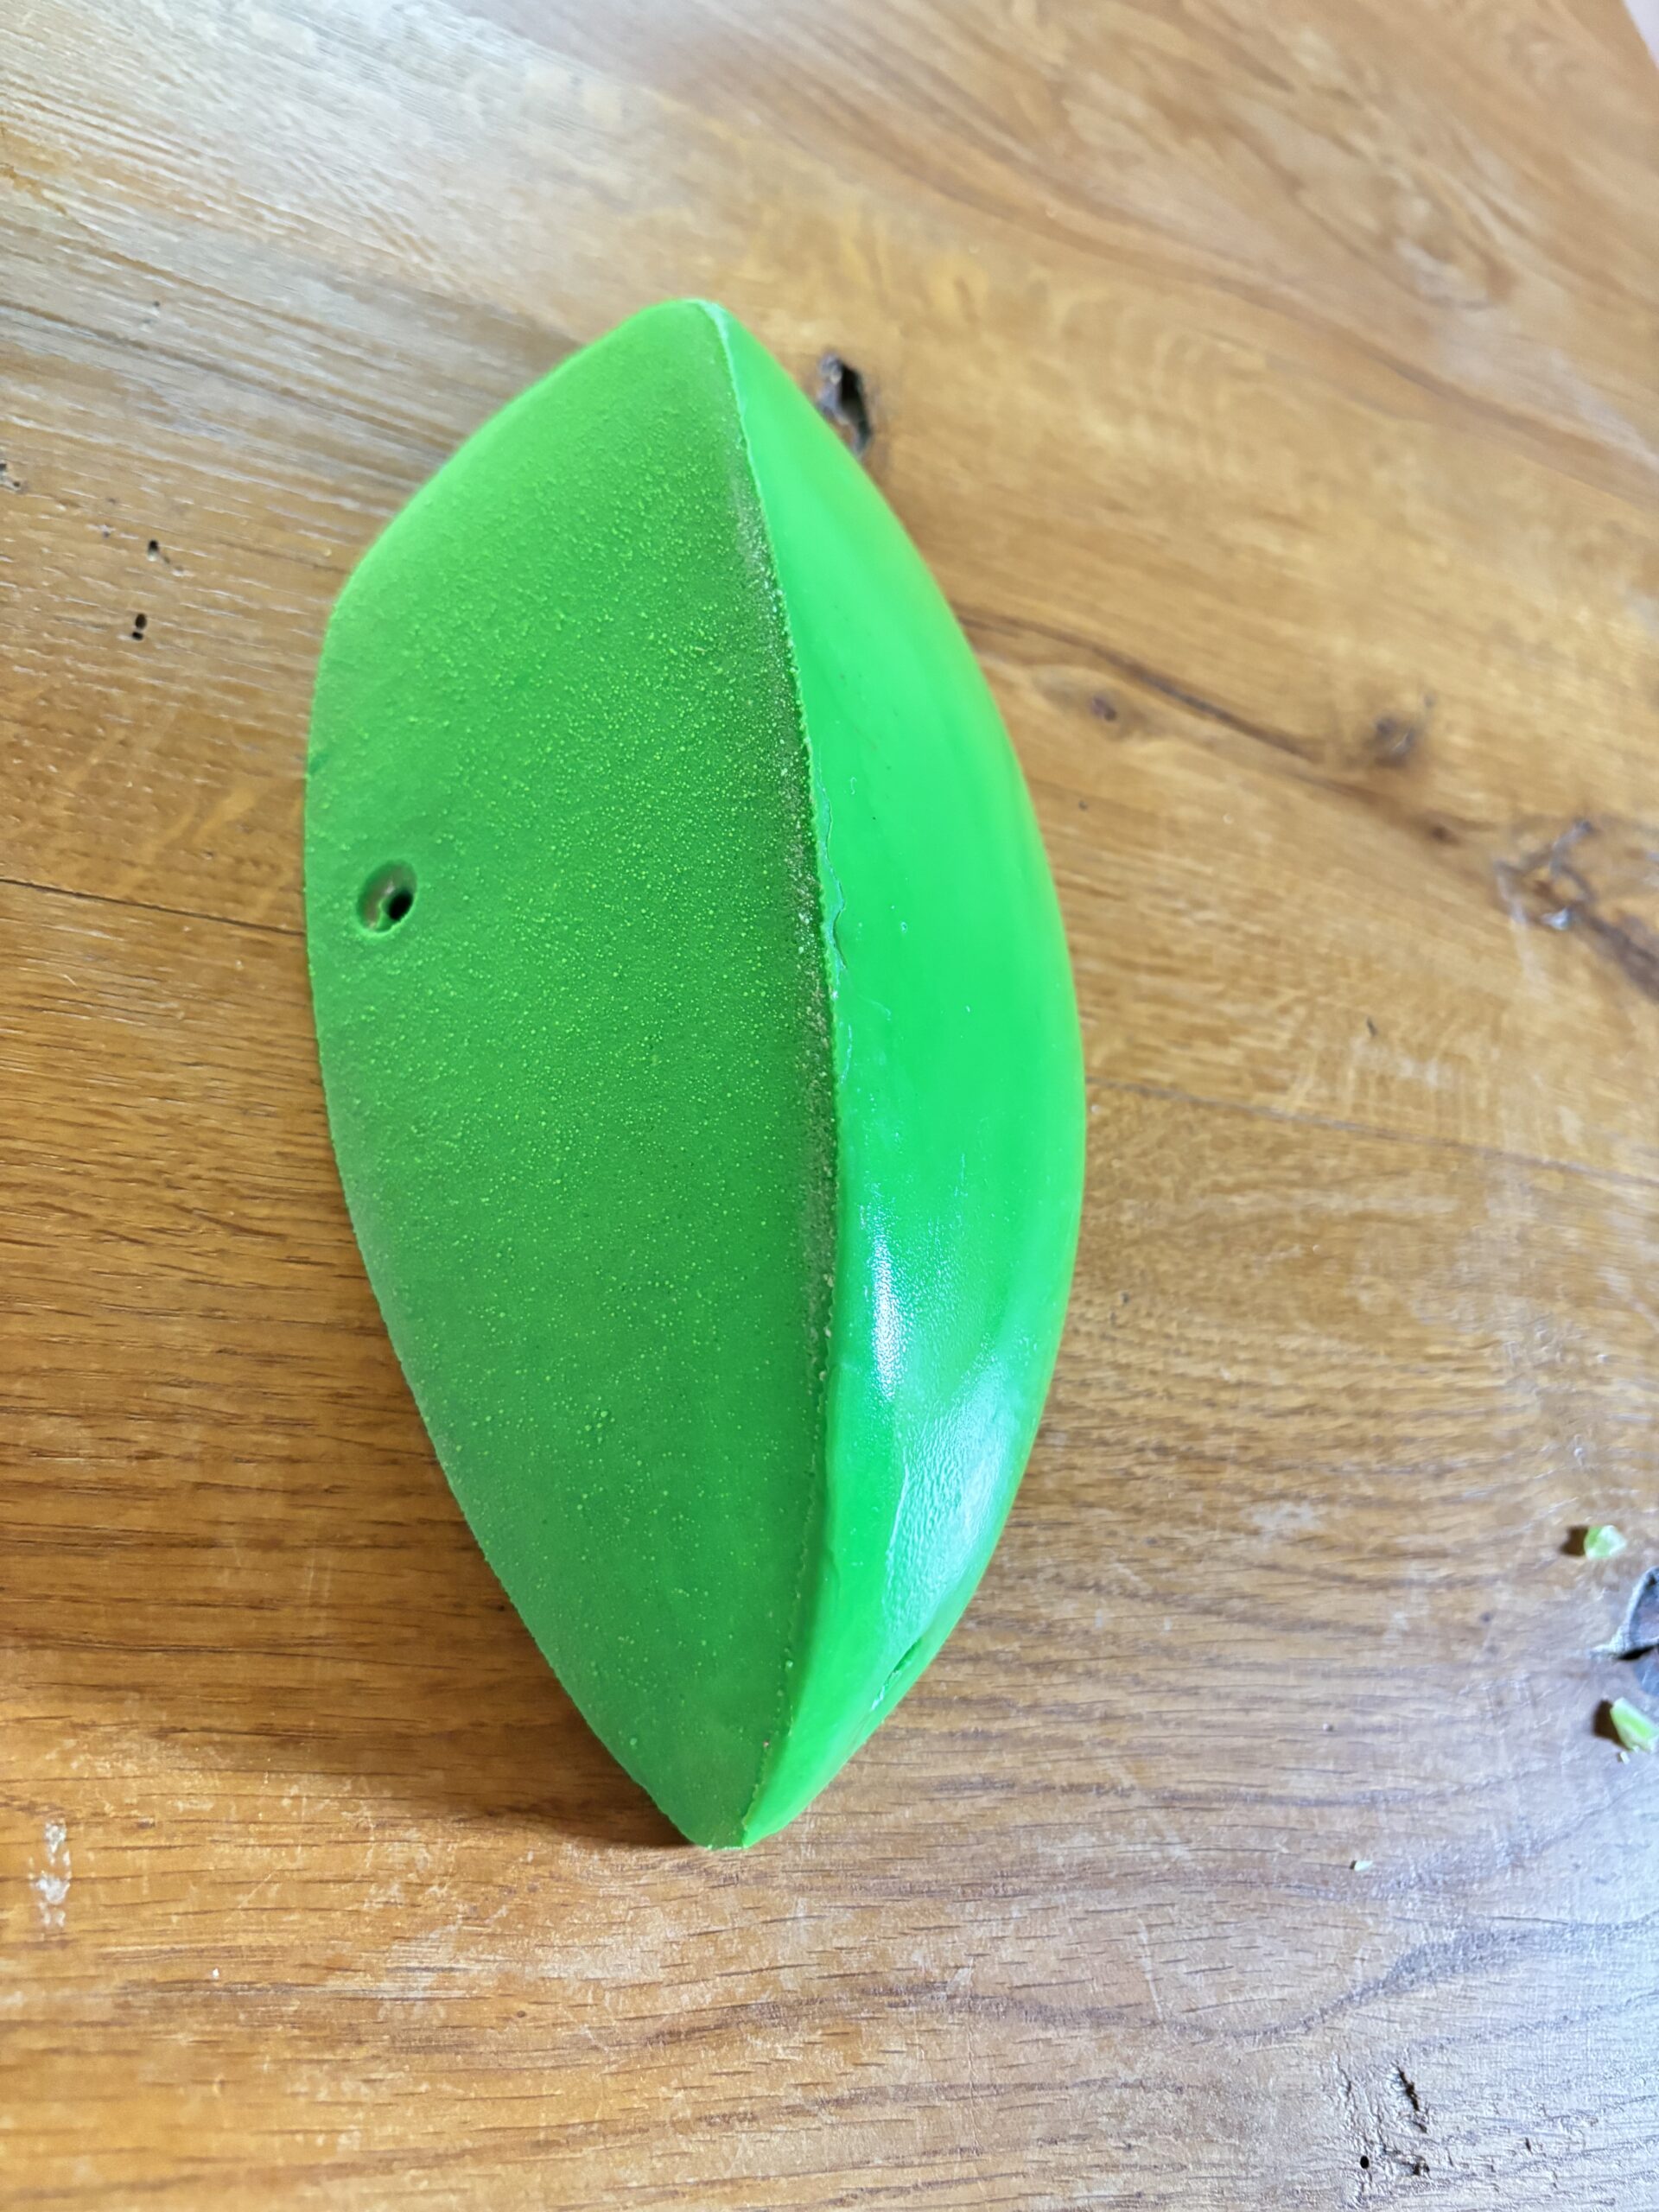
Route setting describes the deliberate placement of climbing holds and volumes on a wall to create a coherent, logical sequence of movements. Unlike randomly distributing individual holds, a setter thinks from beginning to end: Which movement should follow which, and what physical sensation should the route convey? This planning is precisely what distinguishes a "set" route from a mere collection of holds.
The basics: Planning movement flow and body tension
Before you mount the holds, it's worth sketching out the route in your mind or on paper: the start, intermediate moves, and top should form a recognizable line. Make sure that successive holds allow for sensible movements—for example, a transition from pulling to pushing movements or deliberate hip rotations. Test the route yourself repeatedly while mounting the holds, because that's the only way to know if the movement flow is actually correct.
Color coding: How difficulty levels become visible
In most climbing gyms – and it's also a good idea for your own climbing wall – each route is assigned a color that indicates its difficulty level. Often, lighter colors like yellow or green represent easier routes, while red, blue, or black mark more difficult ones. Consistency is key: once a color system is established, it should be applied to all routes so everyone on the wall can easily find their way around.
Control the difficulty precisely: grip selection and spacing
The difficulty of a route depends primarily on three factors: the size and shape of the holds, the distance between them, and the angle of the wall. Large jugs at short, comfortable intervals make for easy introductory routes, while small crimps, slopers, or longer reach noticeably increase the difficulty. For beginner routes, the rule of thumb is: it's better to set them slightly too easy than too hard, so that beginners can experience success.
Typical beginner mistakes in route setting
A common mistake is mixing too many different hold shapes into a route, which disrupts the flow of movement. Distances are also often underestimated – what looks manageable on the ground can suddenly mean an awkwardly long reach on the wall. Therefore, take your time to test each new route yourself and, if necessary, adjust individual holds until the movement feels natural.
 English
 German